All In One WP Security & Firewallの使い方『ワードプレスのセキュリティ対策プラグイン』
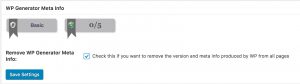
■メタ情報の削除
Setting/WP Version Info/ON:Remove WP Generator Meta info
■admin(管理人)の名称変更:ブルートフォース対策
(1) User Accounts/WP Username/New admin user nameにリネーム後のユーザー名入力/Click:Change Username

※adminで使用していたパスワードはそのまま継承される
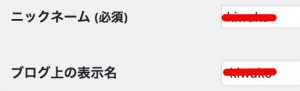
※表示上のユーザ名とニックネームはそのまま継承される
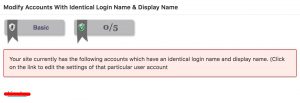
(2) User Accounts/Display Name/Modify Accounts With Identical Login Name & Display Name/管理者名をクリックして、ユーザプロフィールの表示名2か所を管理者名と異なる表記にする
■ファイルパーミッション
Filesystem Security/File Permissions/Click:Set Recommended Permissions
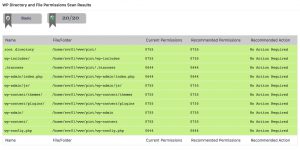
※ボタンをクリックして推奨パーミッションに変更する。推奨パーミッションに変更できない場合は、ターミナル等で手動変更する
■Pingback機能の無効化:外部サイトへのDDoS攻撃防止
Firewall/Basic Firewall Rules/WordPress XMLRPC & Pingback Vulnerability Protection/Completely Block Access To XMLRPC:/ON:Check this if you are …

※Pingback機能はデフォルトで有効になっている
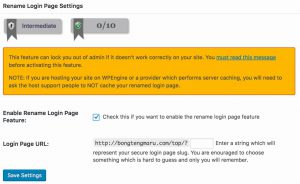
■ログインページURL変更:ブルートフォース対策
Brute Force/Rename Login Page/
./Enable Rename Login Page Feature:/ON:Check this if you want to enable the rename login page feature
./Login Page URL:/http://xxxx/yyy/?[任意の文字列]Enter a string which will represent your secure login page slug.を入力/Click: Save Settings
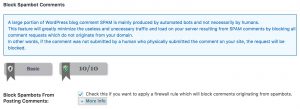
■SPAMコメントのブロック
SPAM Prevention/Comment SPAM/Block Spambots From Posting Comments/ON:Check this if you want to apply a firewall rule …
Leave a Reply